
Remove Skype Banner Ads
To remove them you’ll need to add an entry to your HOSTS file. You can get there by visiting the following location:
C:\Windows\System32\drivers\etc\
In Windows 7, right-click the HOSTS file and open it with Notepad.
You’ll need to run Notepad in Administrator mode. To do that, open Notepad by right-clicking it and select Run as Administrator.
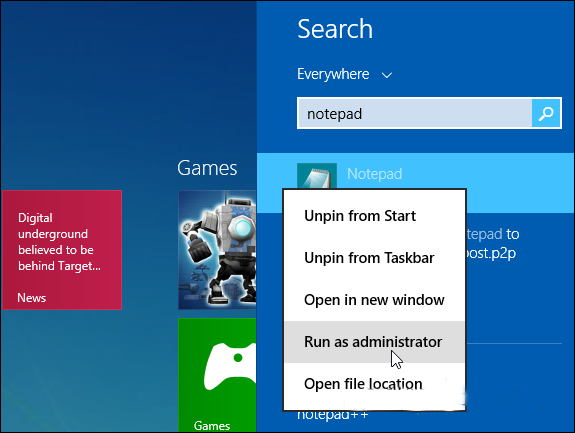
In Windows 8.1, the easiest way to do it is search for Notepad from the Start screen, right-click and Run as Administrator.
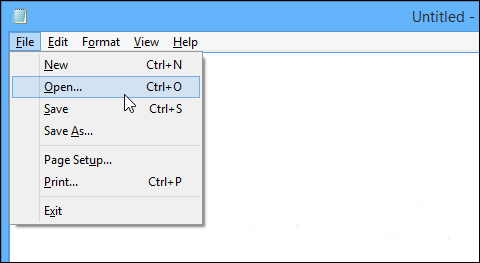
Then go to File > Open and browse to C:\Windows\System32\drivers\etc\
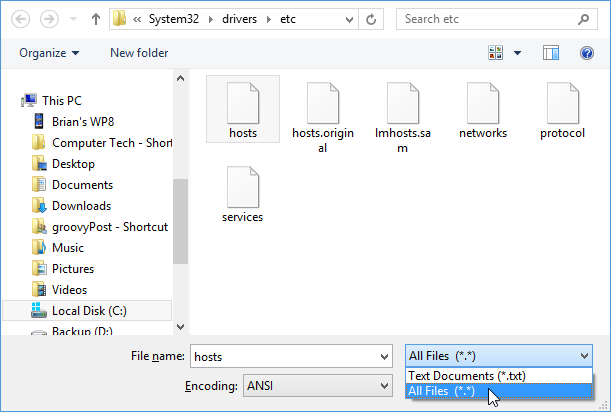
To see the files you’ll need to change the dropdown in the lower right corner to All Files.
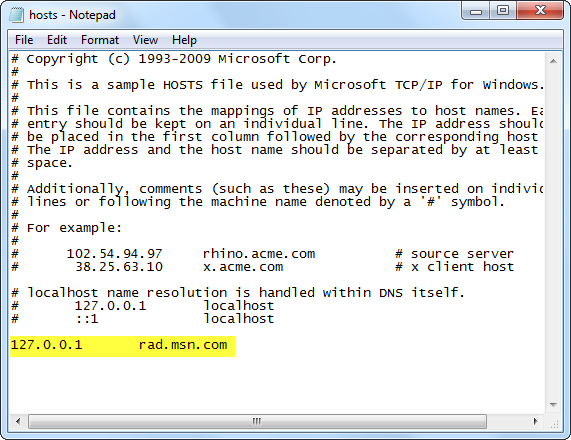
Once you have the HOSTS file open, scroll down to the bottom and add the following line at the end:
127.0.0.0 rad.msn.com
Then make sure to save the change.
Restart Skype and the banner ad at the top is gone!
Flush DNS if Ad Comes Back
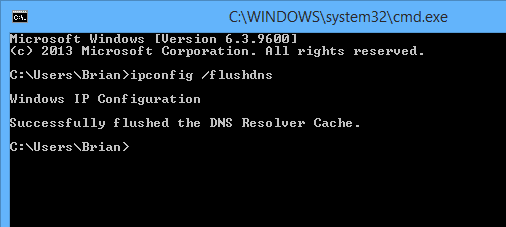
If the ad comes back after a few days you can easily get rid of it again by flushing your DNS. To do so, open the Command Prompt and type: ipconfig /flushdns and hit Enter.
After that restart Skype and the ad should be gone again.
If you have anything to share about what happens when you get rid of the ad, how long it takes to come back or if you’ve figured out a way to permanently remove them.


+ comments + 1 comments
Skype Ad Remover 1.5
Post a Comment